
How To Install SQL Server
How to Install SQL Server
SQL server can be installed by Downloading SQL server from Microsoft.com site where various version are avaliable and launching the appropriate installer once the download is completed. There are three editions for the installation type: Basic, Custom and Download media, it is always recommend to select custom type as it helps to select the features from the list we wish to install.
How to download Microsoft SQL Server Management Studio 2017 (SSMS)
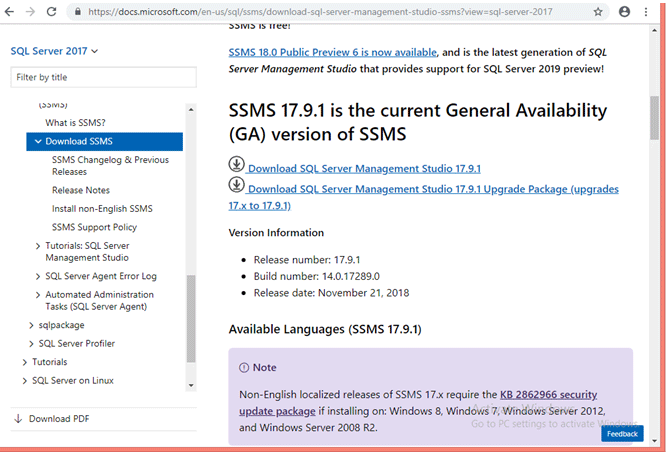
SSMS is a tool which is used to configure, monitor, and administer instances of SQL and also SSMS use for data-tier components to monitor, deploy, and upgrade it for the applications and even the important use to build and run scripts and queries. Now download the Microsoft SQL Server Management Studio 2017 from
Through this link, you can download SSMS 17.0. The is the latest version of SQL Server Management Studio is 18.0 that is Microsoft SQL Server Management Studio 2018. Now the below image showing the download page for Microsoft SQL Server Management Studio 2017 –
Now let’s see how to install the Microsoft SQL Server Management Studio.
Steps to Install SQL Server?
Let us discuss the steps required to install SQL Server.
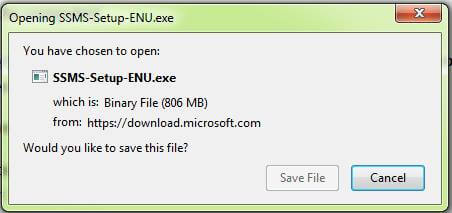
Once you download “SSMS-Setup-ENU.exe” other window get open for saving SQL Server Management Studio 2017 exe and once you click save file button, it starts the downloading.
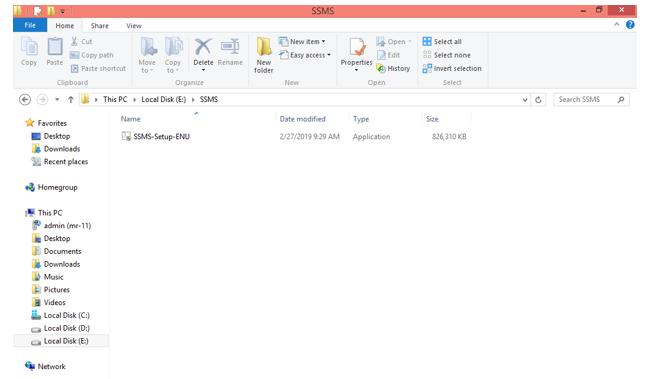
Step 1: Next, for the installation go to the folder where “SSMS-Setup-ENU.exe” is there and then double click the exe file to start the installation.
Step 2: After that, the system will ask the permission that is Click yes to continue installing
Step 3: Next comes the Installation window. Click the Install to begin the installation.
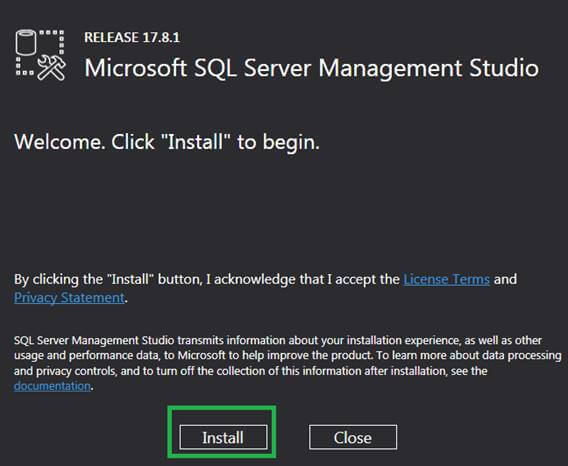
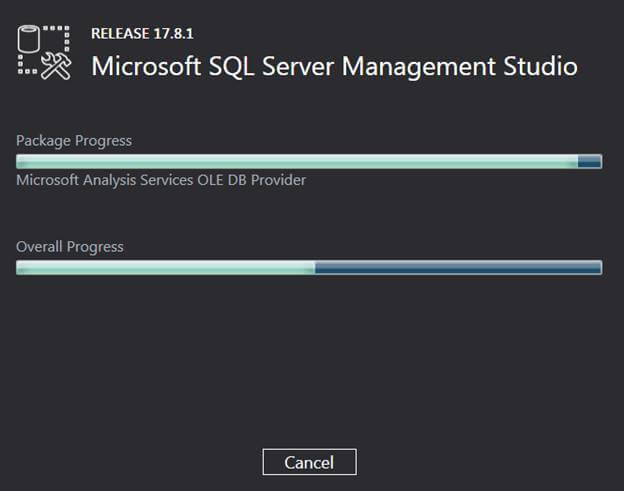
then install gets start and then starts the Loading Packages.
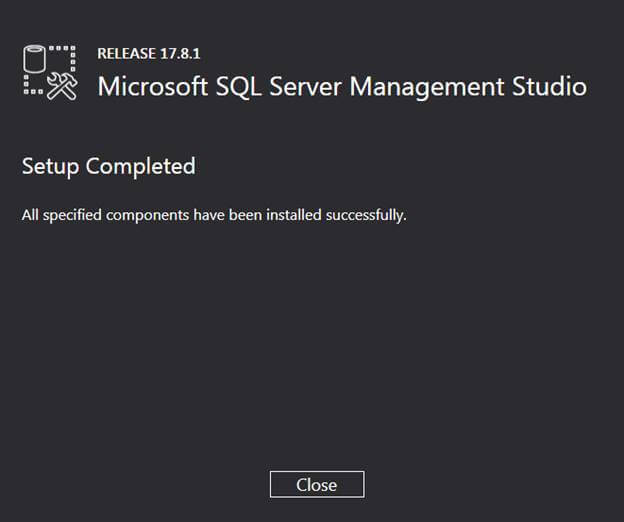
Step 4: When the installation of SQL Server is completed it ask to close the window, so click the close button and restart your computer.
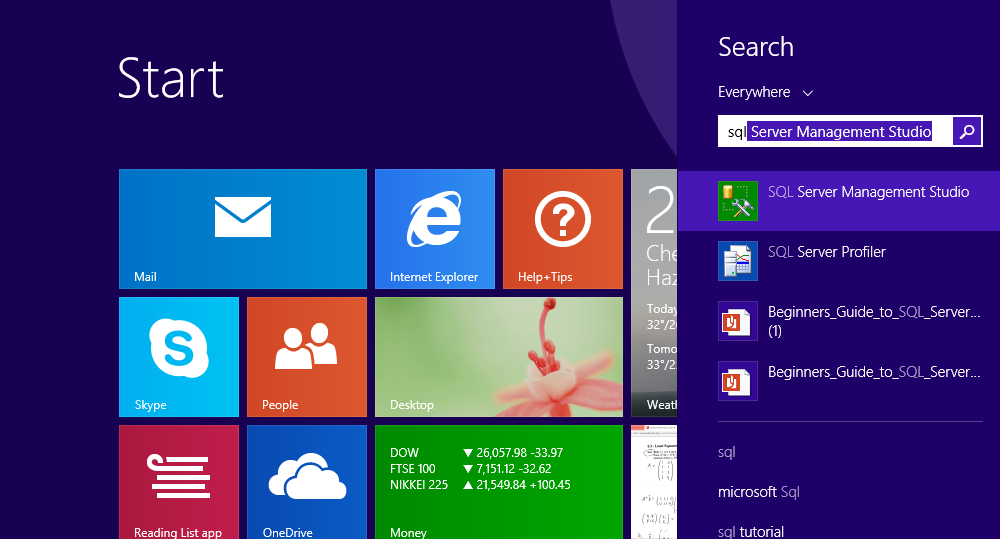
Step 5: Now to start with Microsoft SQL Server 2017 tool click the start button and search for Microsoft SQL Server management studio 17, once you get it to click on it and it gets starts.
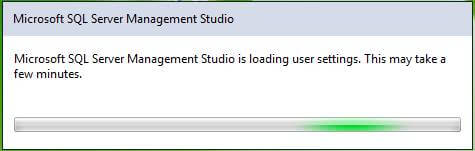
Step 6: Once you start SQL Server Management Studio 17, to open the SQL Server Management Studio 17 first time it will take a few minutes but not next time when using it.
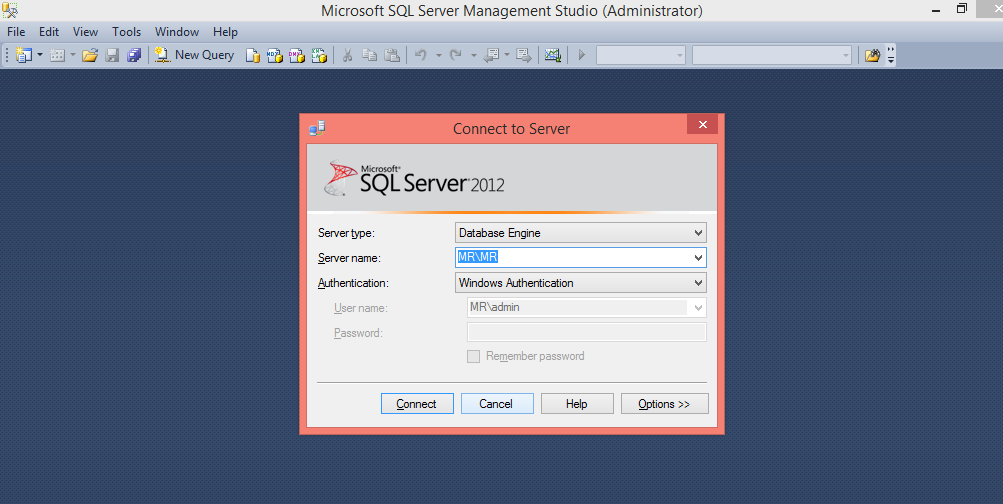
And finally after opening “SQL Server Management Studio 2017”, it comes with the following window and asks to connect server. Click connect and start using the “SQL Server Management Studio 2017”.
The installation of SQL Server Management Studio is completed, now we will discuss the feature and components of the SQL Server Management Studio and how to use it. An integrated environment tool SQL Server Management Studio can be used to create and manage SQL and also to develop all components of SQL Server, SQL Data Warehouse and even in business intelligence. SQL Server Management Studio provides the number of graphical commands which helps to access to SQL Server and to create and manage SQL server objects.
Components of SQL Server Management Studio
Now let’s discuss the components of SQL Server Management Studio to get familiar with the SQL Server Management Studio tool:
- Object Explorer: Object Explorer used to create, manage and view all of the SQL Server objects like the database, table, view, index and all.
- Template Explorer: Template Explorer used to build and manage the predefined queries. The predefined queries here help to speed up the development of queries as just need to customize it.
- Solution Explorer: Solution Explorer used to view the build and open projects and even to manage queries and scripts for administration task.
- Visual Database Tools: SQL Server Management Studio include visual design tools.
- Query and Text Editors: Query and Text Editors used to write and execute queries and scripts. Once you write the query execute it with the help of executing button which is on the top.
Query and Text Editors used to write and execute queries and scripts. Once you write the query execute it with the help of executing button which is on the top.
List of Queries
let’s discuss some of the queries which we can create and run in SQL Server Management Studio.
1. Create a database
In SQL Server Management Studio the Adventure work is the sample databases to your SQL Server instance. The AdventureWorks since the 2012 version has not seen any significant changes, The only differences between the various versions of AdventureWorks are the name of the database.
Now create a database named Employee by following one of the two methods:
- Right-click on database folder in Object Explorer, and then select a new database, the new window gets open then enter Employee for the field database name and then click ok. The database employee gets created, it can be seen in the Object Explorer.
- Another method is to right-click your server instance in Object Explorer, and then select New Query or the click the New Query command which is on the top of the tool. The new query window will open and paste the following T-SQL code snippet:
USE master

GO

IF NOT EXISTS (

SELECT name

FROM sys.databases

WHERE name = N'Employee'

)

CREATE DATABASE Employee

GO
Now execute the query by selecting the entire query and click Execute or select the entire query and press F5 on your keyboard. After executing the query new database Employee is created and appears in the list of databases in Object Explorer. Right-click the Databases node, and then select Refresh, If it doesn’t appear.
2. Create a table in the new database
Next, create a table in the newly created Employee database. To create a table in the Employee database switch the connection context to the Employee database, as the query editor is still in the context of the master database, by executing the following statements:
- — Create a new table called ‘Empdetails’ in schema ’emp’
- — Create the table in the specified schema
CREATE TABLE emp. Empdetails

(

Emp-Id        INT    NOT NULL   PRIMARY KEY, -- creating a primary key column

Emp-name      [NVARCHAR](20)  NOT NULL,

Emp-location  [NVARCHAR](20)  NOT NULL,

Email     [NVARCHAR](20)  NOT NULL

);

GO
After executing the query, the new Empdetails table is created and displayed in the list of tables in Object Explorer under the Employee database.
3. Insert data into a new table
- — Insert data into the table
insert into emp.Empdetails(Emp-Id, Emp-name,Emp-location,Email)

values(101,'john','Bangalore','xyz@gmail.com')
After executing the query, the new row is inserted into Empdetails table.
4. Select data from the table
— Create the table in the specified schema
select * from emp. Empdetails
After executing the query, all rows with all column is fetch from the Empdetails table.